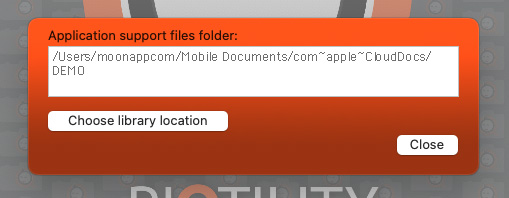
The file management process outlined below has been thoroughly explained with clear steps and an accompanying video.
Additionally, the same step-by-step instructions are also available within the application itself.
Simulate/preview your file rename settings
Choose or add the photos that you want to rename.
In the upper left corner, click the 'File management' tab, select 'Rename' in dropdown menu, followed by the 'Replace' tab.
Go to 'Find text' and type in the text you want to search for.
At 'Replace text by' you write your final text that will replace the searched one.
If you want to see a simulation of the file rename settings, you can click the 'Simulation mode' checkbox under the photo preview.
Click the button 'Step 4: Process': The renamed file name appears blue colored in the list view at the right.
Click Here For The Tutorial
Create and use C-Actions
In the upper left corner, click the 'File management' tab, select 'Rename' in dropdown menu, followed by the 'Nr' tab.
At 'Starting from' you enter the number with which the numbering should start.
At 'Prefix' and/or 'Postfix' you enter what should come before and/or after the number.
At 'Digits' you write how many digits your number must consist of. (Digits: 3 = 001, 002,...)
Finally you can store a c-action clicking the 'Centurion' icon right on top of the 'Nr' tab.
Afterward, load the c-action under 'Renaming tasks (c-actions)' Note: the c-action can also be used in Centurion® and maWatermarker®.
Click Here For The Tutorial
Add meta data such as EXIF user comment, IPTC Creator, IPTC Copyright etc.
Choose or add photos where you want to add meta data.
In the upper left corner, click the 'File management' tab, select 'Add meta data' in dropdown menu.
Fill in the meta data you wish to add.
Click the button 'Step 4: Process':, the meta data will be stored into the photo. This meta data is visible and searchable in for example Apple Photos®.
Click Here For The Tutorial
Generate QR codes
In the upper left corner, click the 'File management' tab, select 'QR & bar code' in dropdown menu.
At 'Text to convert to QR image' you write your text or link (url).
Enter the file name and pixel width of the QR or bar code.
Choose the type of bar code: 'QR' or '128'.
Click the button 'Step 2: Choose destination folder': and set the location where to store the QR code.
Finally press the 'Generate code' button.
Click Here For The Tutorial
2. Edit photo
The file management process outlined below has been thoroughly explained with clear steps and an accompanying video.
Additionally, the same step-by-step instructions are also available within the application itself.
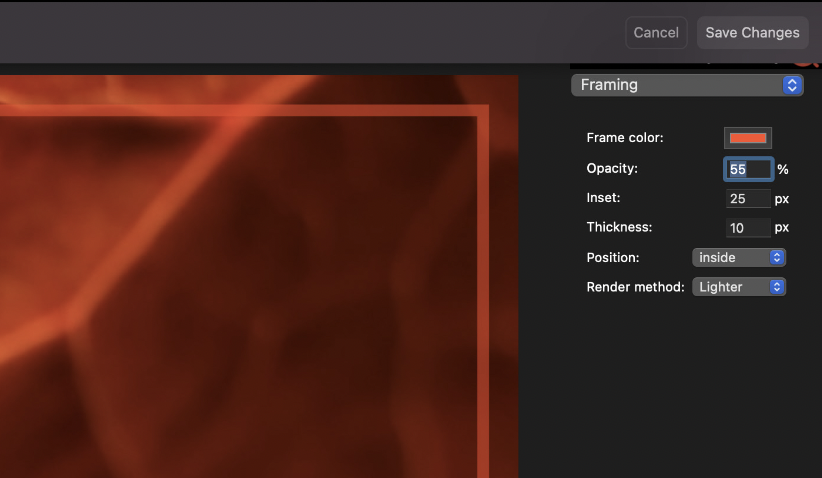
How you could play with the 'add frame' function
Choose or add photos on which you want to add a frame
click the 'Edit photo' tab, select 'Framing' in dropdown menu.
After that, you can modify the properties of the frame
If you want to see a simulation of the frame, you can click the 'Simulation mode' checkbox under the photo preview.
When you are satisfied about your previewed frame, you can proces the photo ('Step 4: Process!') and apply the frame to the photo.
Click Here For The Tutorial
How you could play with the 'rotate' function
Choose or add photos on which you want to rotate
click the 'Edit photo' tab, select 'Rotate' in dropdown menu.
After that, you can modify the properties of the Rotate function
If you want to see a simulation of the frame, you can click the 'Simulation mode' checkbox under the photo preview.
When you are satisfied about your previewed rotation and background color settings, you can proces the photo ('Step 4: Process!') and apply the rotation.
Click Here For The Tutorial
Apply filters
Choose or add photos on which you want to apply a filter
click the 'Edit photo' tab, select 'Filters' in dropdown menu.
Choose the filter that you want.
If you want to see a simulation of the filter, you can click the 'Simulation mode' checkbox under the photo preview.
When you are satisfied about your previewed filter effect, you can proces the photo ('Step 4: Process!') and apply the filter to the photo.
Click Here For The Tutorial
Export faces
piQtility provides a way to generate profile photos of faces, from a photo of a group of people.
It is important that everyone is looking into the lens.
Click Here For The Tutorial
Convert colors based on applied (ICC) color profile.
piQtility can convert colour of photos based on ICC color profile.
This little movie explains how.
Why should you do this?
Mostly photos from a digital camera are taken in 'sRGB' or 'AdobeRGB'. Those profiles have a wide colour gamut to reproduce highly realistic colours.
If these photos need to be printed, that means that they will be converted in a smaller colour gamut before they can be printed because of paper, ink and print limitations.
In this small tutorial we describe how you can convert a RGB image to a very narrow colour gamut of ISOnewspaper26v4.
This function can be used to transform colour photos to black and white for example, if you apply the appropriate colour profile, for example: "Generic Gray" profile.
4 rendering intents defined within the ICC specs:
Perceptual
Relative colorimetric
Saturation
Absolute Colorimetric
Each method has a different approach to map colours, out of the gamut, into the destination gamut. For example how to map all colours from a wide gamut RGB into a (very) small IsoNewspaper CMYK gamut.
Perceptual
Long time the “default” method to convert photos.
Colours that not fit the new gamut, will be converted to the nearest corresponding colour.
The result could be that some colour ranges would very flattened, to avoid this the render intent will try to raise the contrast between them. But this can result in an image where some colours differs a lot from the original. Relative Colorimetric
Aims to result in the most neutral conversion.
Colours out of gamut, will be converted to the edges of the output profile.
Dark, saturated areas can become flattened. Saturation
Focus on maximum of saturated colour.
Purpose: vector graphics not photos.
If applied on images, often not realistic colours. Absolute Colorimetric
Focus on inkjet print systems.
The paper colour will be taken into account if necessary.
Click Here For The Tutorial
3. Export HTML
Create responsive HTML photo galleries:
It just takes a few seconds to create such pages, based on predefined templates and perfectly adjustable to your needs, if you are a more experienced html user. Even after creation of those pages, you can fully edit them in a html editor of your choice.
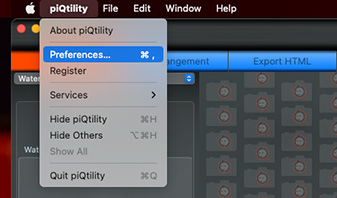
From within Apple Photos® you have access to 'piQtility for Photos'. See screenshot above (right on top) and look for the icon (•••), select 'piQtility for Photos', and discover functions as:
- Framing- Add Tint- Rounded corners- Filters
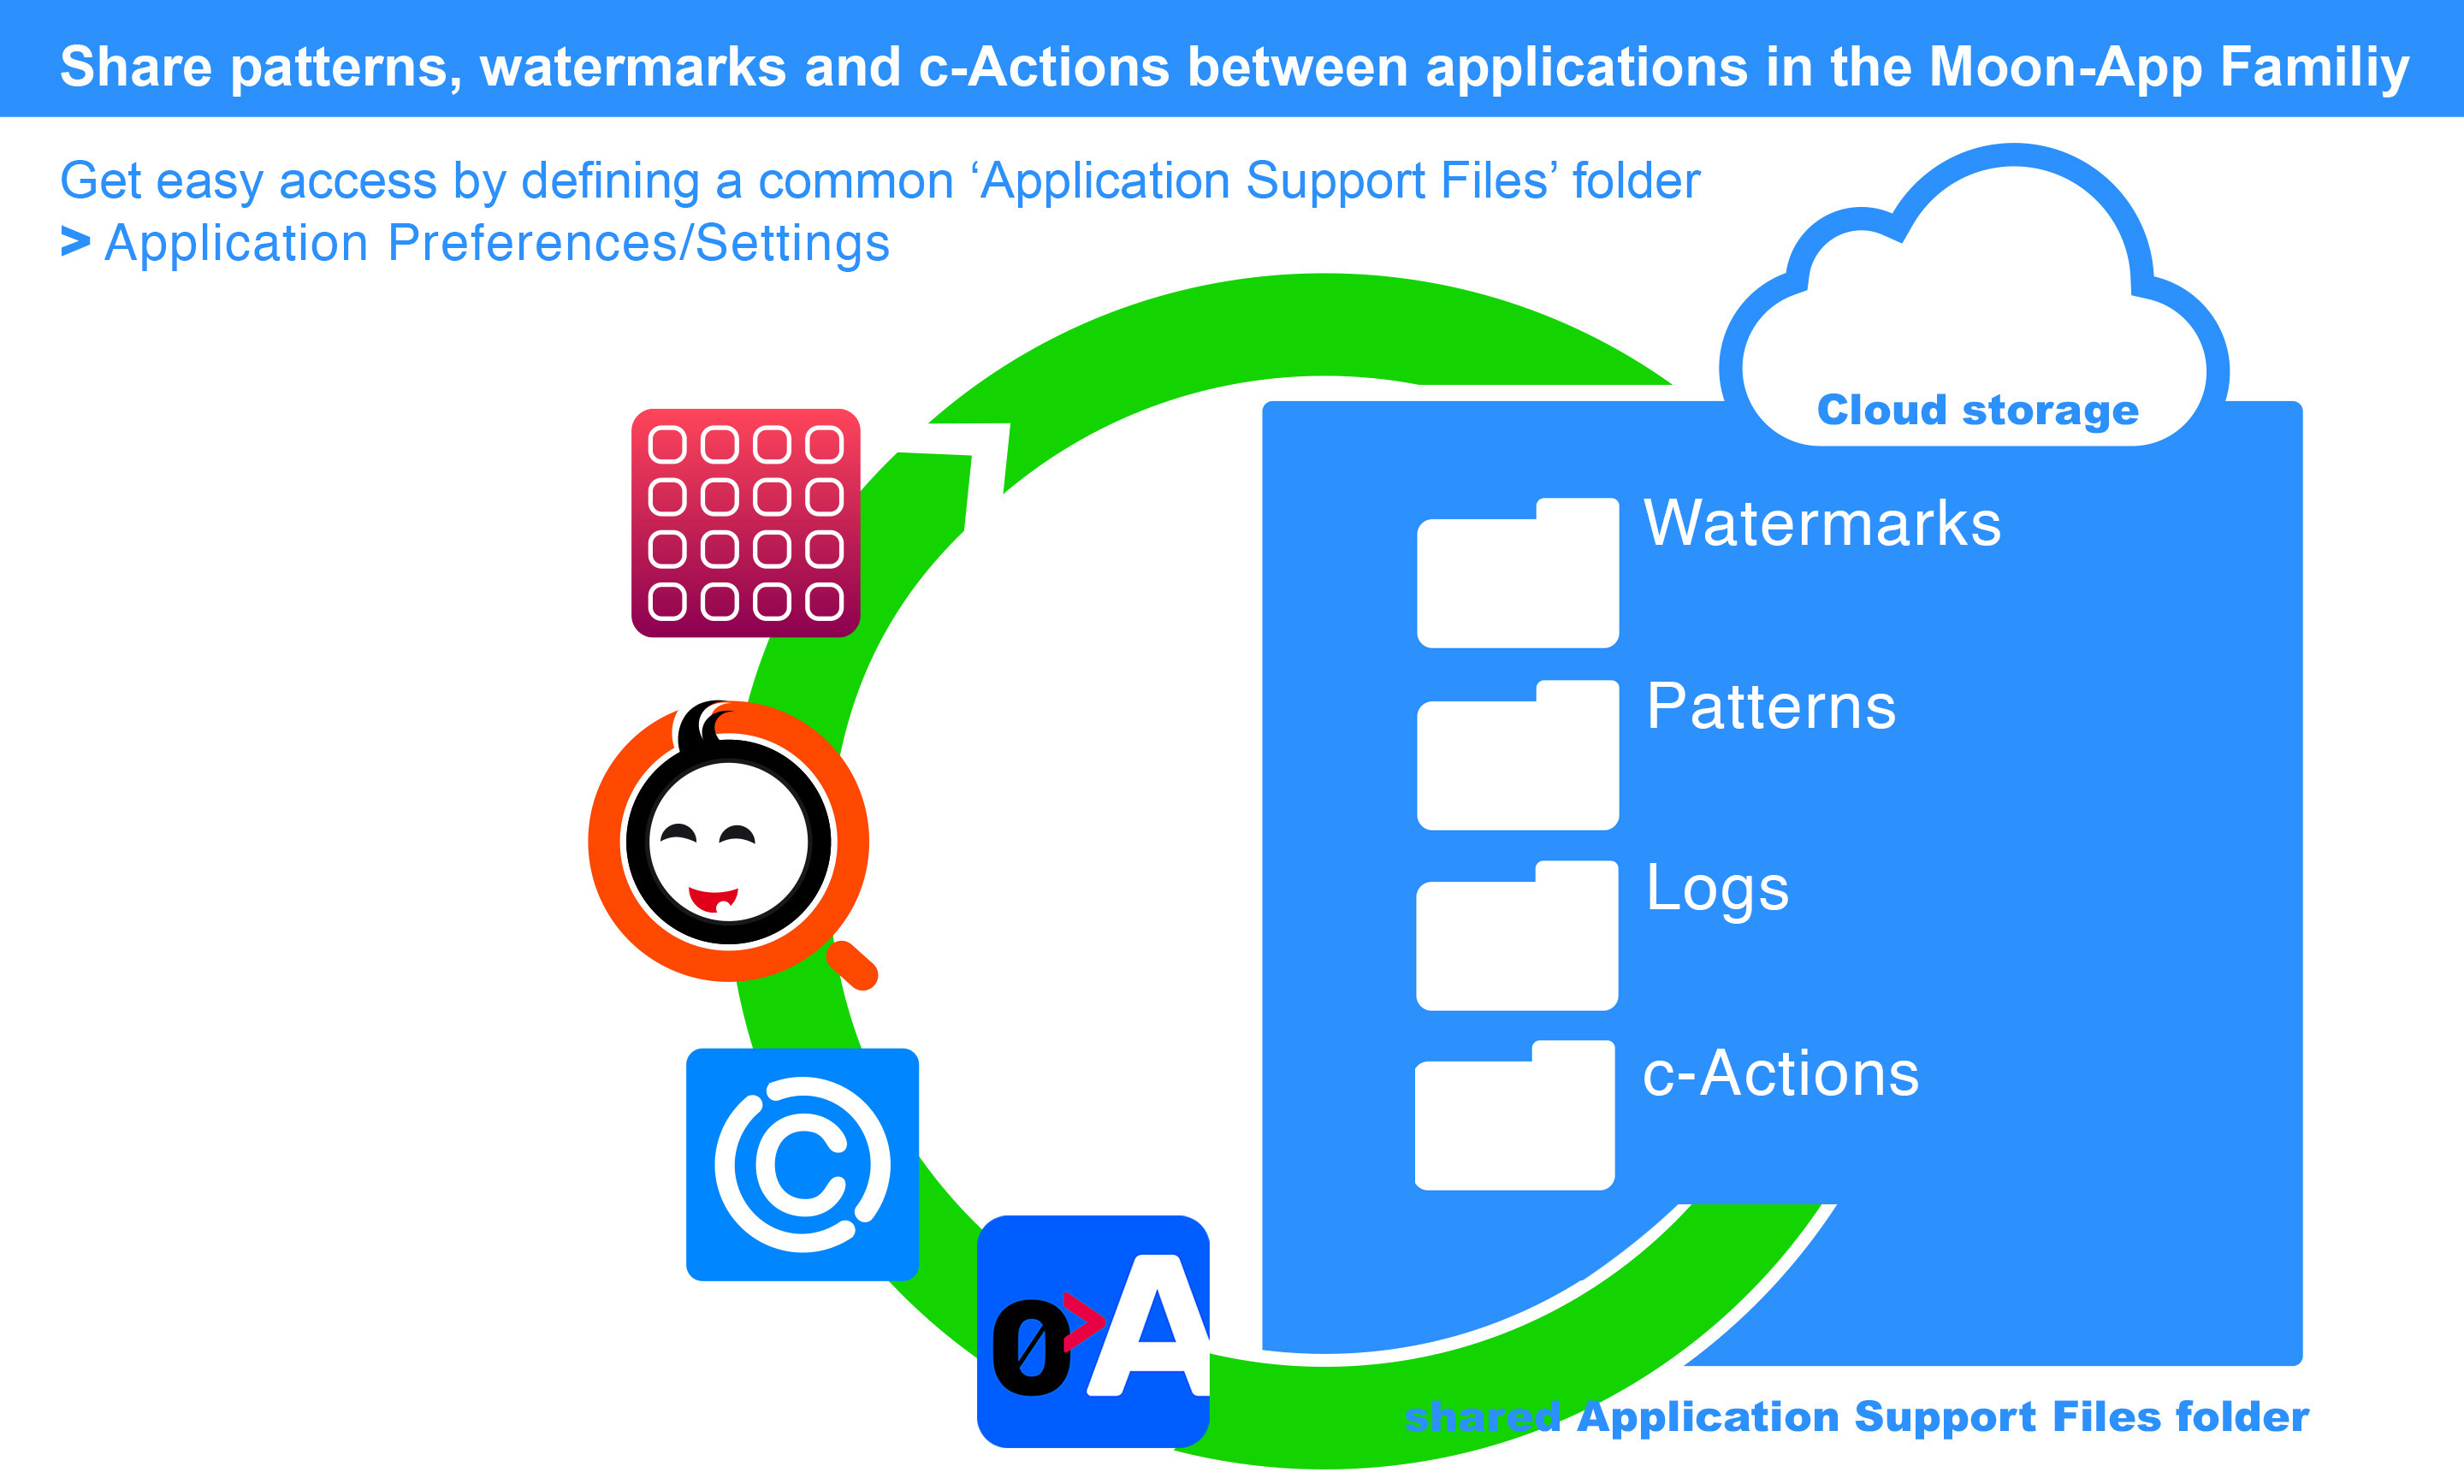
5. Inter application integration
6. For the Adobe InDesign® user
Did you know you can call piQtility directly as image editor from a selected image on your page?
1. 'Ctrl + click' the photo on your InDesign page
2. a contextual menu appears
3. select: 'Edit With'
4. select: 'piQtility 9'
5. the photo will open directly in piQtility
6. edit and save the photo in piQtility
7. changes are directly visible in your InDesing layout.
7. What's new?
version 9.3.0
Free Update for current 9.X.X users
'Rounded corner' function:
- Performance boost up to 4x faster processing (based on JPG of 6000x4000px).
- Added gradient.
- Added angle attribute.
- Added opacity attribute.
- Added render methods: Multiply, Overlay and Blend.
- Enlarge canvas with background color.
'Rotate' function:
- Background color property.
- Enlarge canvas.
version 9.2.0
Free Update for current 9.X.X users
- Added gradient color to the frame function.
- Added angle attribute to the frame function.
- Added render methods: Multiply, Overlay and Blend to the frame function.
- These 3 attributes also added to the "piQtility for photos" extension.
- User interface and code improvements.
version 9.1.1
Free Update for current 9.X.X users
- Fix: application registration.
version 9.1.0
Free Update for current 9.X.X users
- HEIC support.
- Better thumbnail support.
- Multiple bug fixes: for ex. showing meta data under macOS Sonoma.